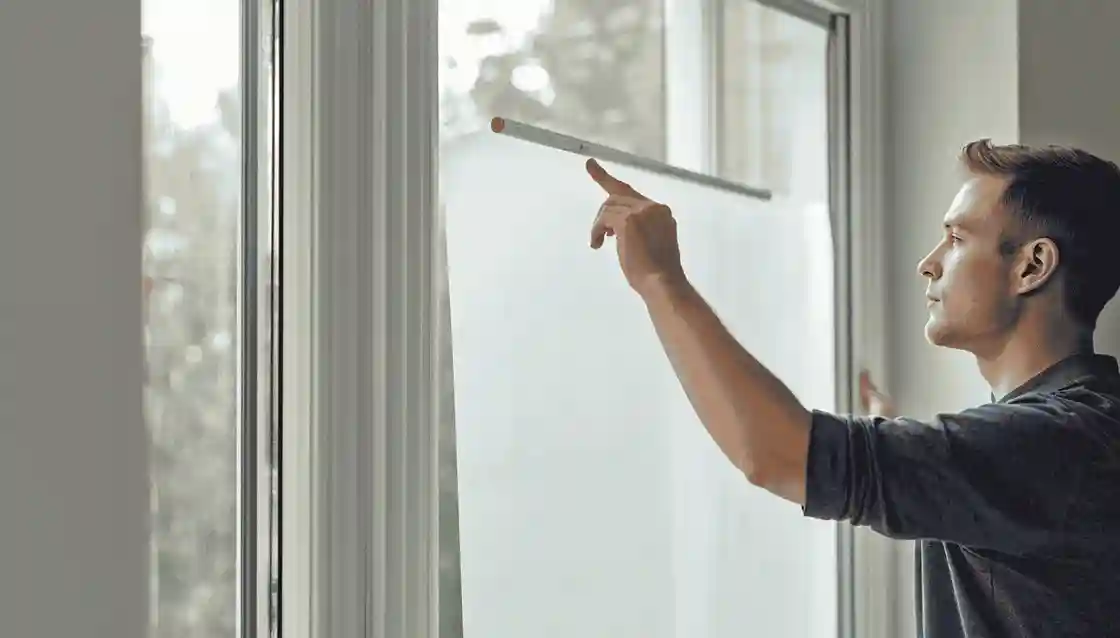
Installing peel and stick tile over bumpy drywall requires a smooth base. Proper cleaning, adhesion primer, or rigid backer panels prevent tile peeling.
Installing a peel and stick backsplash on textured walls or bumpy painted drywall is a budget-friendly home improvement solution that transforms any kitchen wall or bathroom walls without the mess of traditional thinset and grout. If you are searching for the latest home improvement tips to renovate your rental apartment or home, updating your wall surface with self-adhesive tiles is a high-impact project.
When paired with a simple, low-cost kitchen design plan, adding a stick backsplash tile to lightly textured walls creates a sleek and modern look. However, because bumpy wall texture limits adhesive contact, you must prep the surface so the tiles adhere firmly and last for years without falling off.
Can You Apply Peel and Stick Tile Backsplash to Bumpy Walls?
Yes, you can apply peel-and-stick backsplash on textured or bumpy walls, but success depends on the level of wall texture. Standard adhesive tiles need maximum contact with a smooth surface to maintain strong adhesion.
- Orange Peel Texture & Lightly Textured Walls: Small, subtle bumps allow stick tiles on textured walls to grip adequately if you start by cleaning away grease or dirt and use an adhesion promoter or spray adhesive.
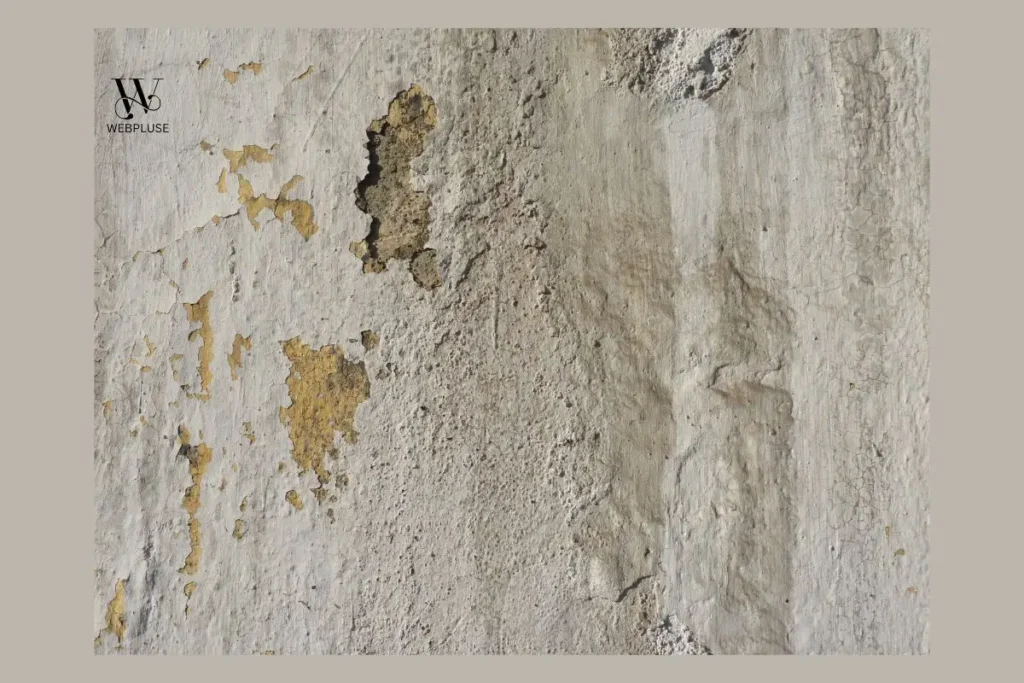
- Heavily Textured & Knockdown Walls: If the wall has deep grooves, heavy bumps, or plaster, the adhesive backing will only touch 30% of the wall surface. This causes air bubbles and a weakened bond over time, meaning the tiles might peel off.
3 Proven Methods to Install peel and stick backsplash on Textured Walls:
- Sanding & Deep Cleaning Bumpy Painted Drywall
- Applying a Thin Layer of Skim Coat or Primer
- The Renter-Friendly Backer Board Method
Method 1: Sanding & Deep Cleaning Bumpy Painted Drywall
For orange peel texture or light bumps, sand the wall surface lightly using medium-grit sandpaper to flatten high spots. Next, use a soft cloth with rubbing alcohol or a mild degreaser to remove grease or dirt. Avoid harsh chemicals that weaken the adhesive. Let it dry completely before placing your first tile.
Method 2: Applying a Thin Layer of Skim Coat or Primer
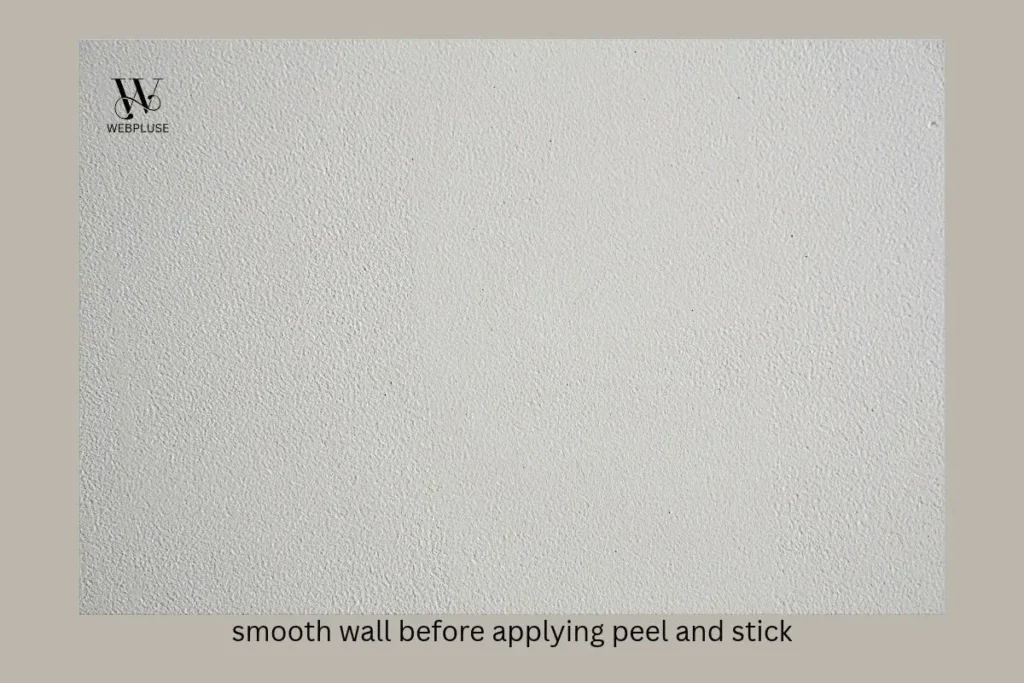
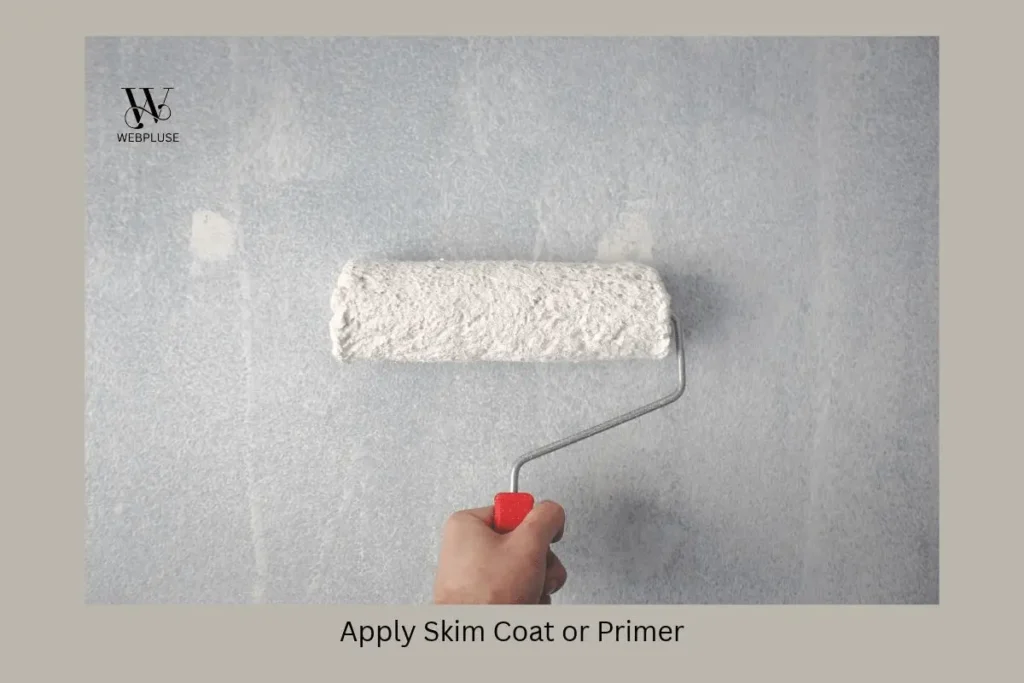
If the wall texture is moderate, skim coating a thin layer of joint compound over the painted drywall creates a perfectly smooth surface. After drywall repair or sanding, apply a clear latex adhesion primer. Once you let it dry completely, the self-adhesive backing grips tightly.
Method 3: The Renter-Friendly Backer Board Method
For a renter in a kitchen or bathroom who cannot sand walls, mount a thin 1/8-inch plywood or acrylic backer panel using small brad nails. Apply peel-and-stick backsplash tile directly onto the smooth board. Upon move-out, remove the board and perform minor drywall repair.
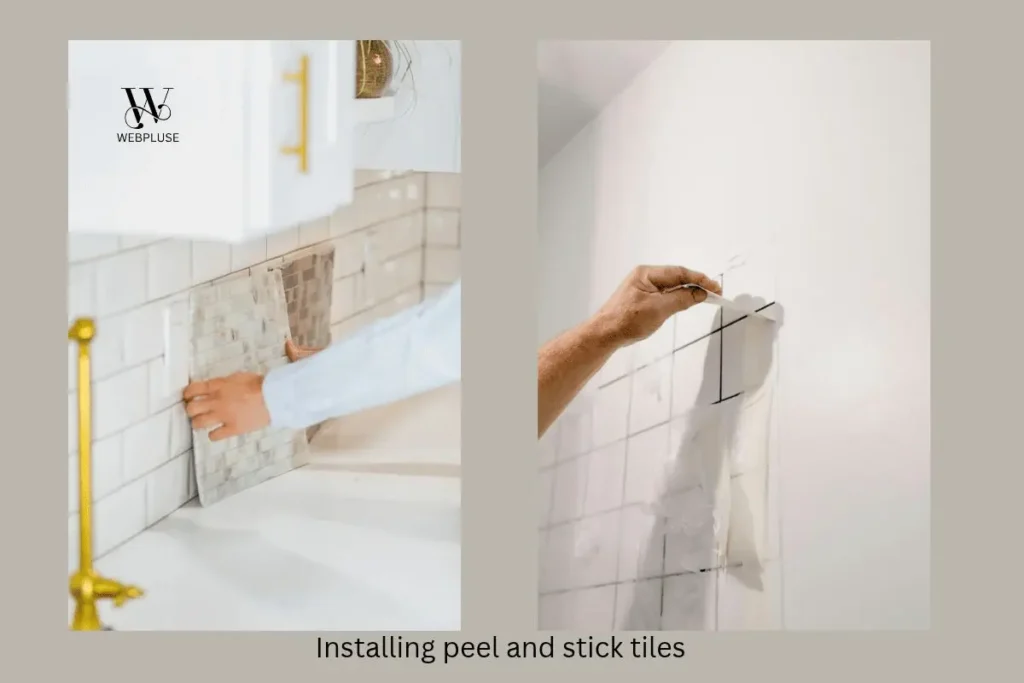
Step-by-Step Guide to Install Peel and Stick Tile Backsplash
- Measure and Cut Your First Tile: Use a sharp utility knife, tile cutter, or heavy-duty scissors to trim tile edges and fit around corners and edges.
- Warm the Tiles: Use a hair dryer on low heat to warm the tiles before installation. Heating softens the adhesive tiles, making the glue extra sticky.
- Press Tiles Firmly: Align the first tile carefully along your baseline. Peel off the adhesive backing, stick the wall tiles, and press the tiles firmly with a roller or soft cloth for 30 seconds to smooth out air bubbles.
- Seal Corners and Edges: Apply a thin bead of clear silicone caulk along the kitchen backsplash counter seam and around bathroom sink edges to prevent water or steam from penetrating.
Choosing the Best Product Types for Bumpy Walls
Different product types offer varying levels of flexibility and stickiness on textured surfaces:
- Subway Tile Peel & Stick Backsplash: Classic white peel subway-style tiles or subway tile options offer thick vinyl layers that hide minor wall imperfections.
- Marble Peel and Stick Backsplash: Elegant marble peel options provide high-end style with strong acrylic adhesive backing.
- Stone Peel and Stick & Faux Stone: Heavy gel composite tiles like yipscazo, yipscazo tiles, slate peel, or smart tiles offer rigid construction that spans light wall bumps easily.
- Wood Backsplash & Wall Tiles: Self-adhesive wood backsplash tiles give a cozy, rustic feel with extra adhesive strength.
Common Mistakes That Weaken Backsplash Adhesive
- Skipping Prep Work: Placing backsplash peel-and-stick tiles on dusty or greasy walls without cleaning.
- Installing on Damp Walls: Failing to let the wall dry completely after cleaning or priming.
- Forgetting Extra Adhesive: Not using spray adhesive on heavily textured walls or porous surfaces.
Frequently Asked Questions About Stick Backsplash Tile
Can you install peel and stick backsplash tile in a bathroom?
Yes, you can install a peel and stick backsplash in a bathroom or on bathroom walls, provided you seal all corners and edges with silicone caulk to block moisture.
Will stick backsplash for kitchen tiles damage painted drywall upon removal?
If applied with extra spray adhesive, removing tiles might pull off paint. Use a hair dryer to warm the tiles and soften the glue before pulling them off slowly.
What is the easiest way to cut peel and stick backsplashes?
Most peel and stick tile backsplash options are easy to cut using a straight edge and a sharp utility knife.
Backsplash Action Plan
- Test your wall texture depth and clean grease or dirt.
- Apply an adhesion primer or skim coat if the wall has deep grooves.
- Warm the tiles with a hair dryer, press the tiles firmly, and enjoy a sleek and modern kitchen wall without the mess!

Ayesha Khan is a home stylist and interior layout strategist and the founder of Webpluse. She specializes in transforming compact residential spaces through practical apartment decorating ideas, high-density storage solutions, and budget-friendly home improvement strategies—all tested in her own rental apartments. Her guides help a global audience across the United States, France, and Germany furnish and style small spaces without overspending.