Upgrading dark rental kitchen countertops is simple with non-damaging under-cabinet illumination. Battery-operated puck lights, rechargeable magnetic bars, and flexible LED strips provide bright task lighting over prep zones without electrical wiring, drilling cabinet wood, or risking your security deposit upon move-out.
Brightening a dark rental kitchen does not require hiring an electrician or making holes in the cabinet woodwork. If you are exploring no-drill under-cabinet lighting ideas for rental kitchens or practical, latest home improvement tips to upgrade your apartment, temporary lighting is one of the easiest high-impact projects.
When paired with a simple, low-cost kitchen design strategy, under-cabinet task lighting eliminates gloomy shadows in preparation areas, making compact countertops feel far more pleasant in open, modern spaces.
5 Practical No-Drill Under-Cabinet Lighting Ideas for Rental Kitchens:
- Stick-On Battery-Powered LED Puck Lights
- Rechargeable Magnetic LED Light Bars
- Peel-and-Stick Flexible LED Strip Lights
- Plug-In Under-Cabinet Light Bars with Cord Clips
- Motion-Sensor Motion-Activated Night Lights
1. Stick-On Battery-Powered LED Puck Lights:
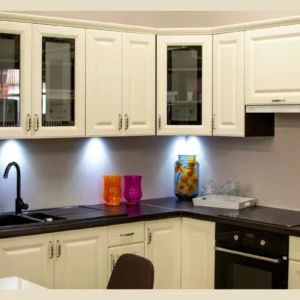
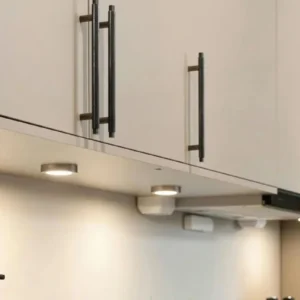
Battery-powered LED puck lights are the most popular choice for rental kitchens. They are directly attached to the bottom of upper cabinets using damage-free double-sided mounting tape. Most models feature remote controls with tap-on control or built-in timers, offering clean task lighting over the sink and cutting areas.
2. Rechargeable Magnetic LED Light Bars:
For a continuous linear beam of light, thin magnetic LED light bars are an excellent upgrade. These fixtures come with adhesive iron strips that stick to the cabinet. The light unit magnetically snaps onto the strip, allowing you to easily detach it when it needs USB recharging.
3. Peel-and-Stick Flexible LED Strip Lights:
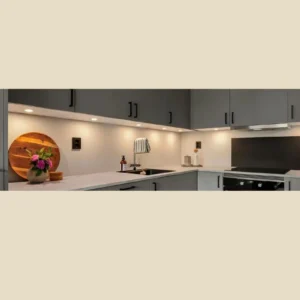
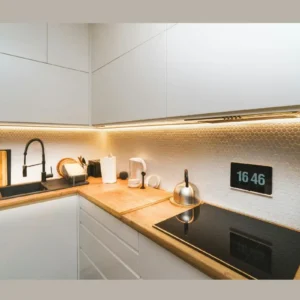
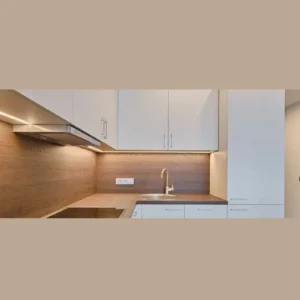
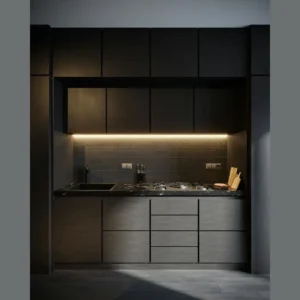
If you want edge-to-edge lighting along the full length of your counters, flexible LED tape lights are ideal. They feature a peel-and-stick adhesive backing that runs flat against cabinet bases. If you have an outlet nearby, plug-in options work great; otherwise, choose USB power-bank-operated strips for a cable-free setup.
4. Plug-In Under-Cabinet Light Bars with Cord Clips:
If you prefer consistent power without worrying about battery recharges, plug-in fixtures work well. Secure slim fixtures with heavy-duty mounting strips and run the power cable around cabinet corners using clear adhesive cord clips to keep cables hidden and tidy.
5. Motion-Sensor Motion-Activated Night Lights:
When you walk into the kitchen or reach for a tool, motion-activated under-cabinet lights turn on automatically. This hands-free feature is perfect for late-night water runs or quick food prep without turning on harsh overhead lights.
Step-by-Step Installation Guide for Rental Kitchen Lighting:
- Step 1: Deep Clean the Cabinet Base
- Step 2: Measure and Plan Light Placement
- Step 3: Test Light Output and Temperature
- Step 4: Secure with Removable Mounting Tape
- Step 5: Organize and Hide Wires
Step 1: Deep Clean the Cabinet Base:
Over time, grease, oil splatters, and dust build up under upper cabinets. Before applying any adhesive strips, clean the bottom thoroughly by wiping with rubbing alcohol or a mild degreaser. Let the surface dry completely for at least 15 minutes. This step ensures maximum adhesive grip and prevents lights from falling later.
Step 2: Measure and Plan Light Placement:
Position your lights directly over primary work areas like cutting boards, food prep counters, and the sink. Spacing puck lights approximately 12 to 18 inches apart ensures smooth, overlapping light pools without harsh shadows.
Step 3: Test Light Output and Temperature:
Before pressing adhesive strips onto cabinet wood, insert batteries or fully charge the units and test them in position. Warm white lighting (2700K to 3000K) creates a comfortable, inviting environment, while cool white lighting (4000K to 5000K) provides crisp clarity for detailed chopping and recipe reading.
Step 4: Secure with Removable Mounting Tape:
Use heavy-duty removable foam strips, such as Command picture hanging strips or mounting tape designed for damage-free removal. Press each light unit firmly against the cabinet underside for at least 30 seconds to lock the bond in place.
Step 5: Organize and Hide Wires:
If you are using plug-in strips or wired light bars, secure loose cords along the back lip of the cabinet using clean adhesive cable clips. Hiding power cables maintains a clean, smooth, professional appearance.
How to Install No-Drill Lighting Without Wall Damage:
- Clean the Surface Thoroughly: Wipe the cabinet underside with rubbing alcohol to remove dirt and grease before applying adhesive strips.
- Use Quality Removable Strips: Use Command-style removable adhesive strips or heavy-duty foam tape designed for clean removal.
- Conceal Wires with Cord Organizers: Use small adhesive cable clamps along the back lip of the cabinet to keep dangling cords out of sight.
For maximum adhesive strength without paint damage, follow the surface preparation guidelines on the official Command 3M Damage-Free Hanging Tips website before mounting heavy light units.
Common Questions About Rental Kitchen Lighting
Will adhesive mounting tape damage rental cabinet finish?
No, as long as you use damage-free removable strips (such as Command strips or removable acrylic tape) and slowly remove them parallel to the surface when moving out.
Are battery-powered under-cabinet lights bright enough for cooking?
Yes, modern LED puck and bar lights produce 100 to 300 lumens, which provides ample task lighting for reading recipes and cooking.
How long do battery under-cabinet lights last?
Most rechargeable USB LED light bars run for 3 to 6 weeks on a single charge under common daily use, while battery puck lights usually last for several months depending on usage hours.
Your Rental Lighting Action Plan
- Measure Your Cabinet Run: Count your upper cabinets and measure the length to decide between puck lights or linear bars.
- Choose Your Power Source: Decide between USB rechargeable units, AA battery pucks, or plug-in strips.
- Prep and Mount: Clean the cabinet base, apply adhesive strips, and place your lights over primary prep zones

Ayesha Khan is a home stylist and interior layout strategist and the founder of Webpluse. She specializes in transforming compact residential spaces through practical apartment decorating ideas, high-density storage solutions, and budget-friendly home improvement strategies—all tested in her own rental apartments. Her guides help a global audience across the United States, France, and Germany furnish and style small spaces without overspending.